Setting up iPod nano
Before you can use iPod nano, you must set it up in iTunes. During setup, you can create an
iTunes Store account or specify an existing account. (The iTunes Store may not be available in all
countries or regions.) iTunes also displays and records the serial number of your iPod nano when
it’s connected, in case you need it.
Set up iPod nano:
1
Download and install the latest version of iTunes from www.itunes.com/download.
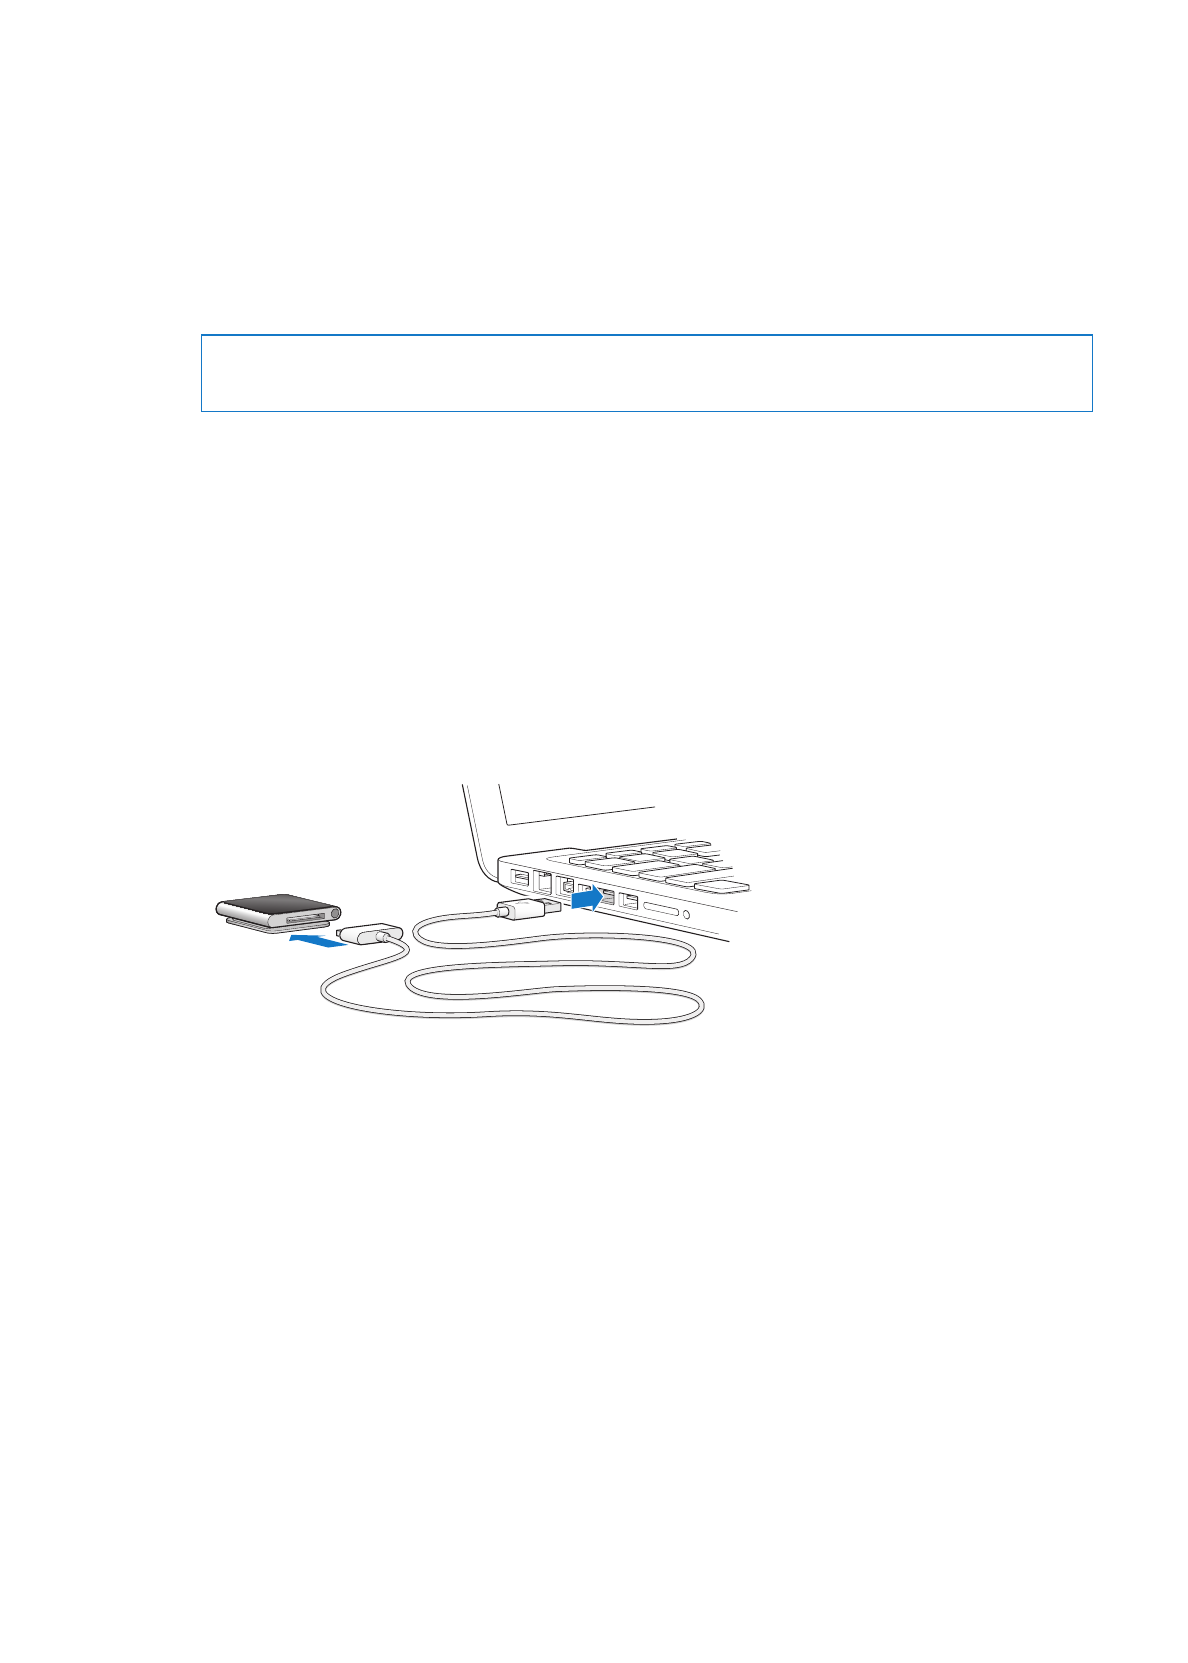
2
Connect iPod nano to a high-power USB 2.0 port on your Mac or PC, using the cable that came
with iPod nano.
3
Follow the onscreen instructions in iTunes to register iPod nano and sync iPod nano with songs
from your iTunes library.
If you need help using the iPod nano Setup Assistant, see “Set up iTunes syncing the first time:” on
page 17.
When iPod nano is syncing with your computer, iPod nano shows “Sync in Progress.” When
syncing is complete, iTunes shows “iPod sync is complete.” For information about syncing, see
Chapter 4, “Syncing with iTunes,” on page 17.
4
Leave iPod nano connected to your computer for up to three hours, to fully charge the battery.
You can disconnect iPod nano before the battery is fully charged, and you can sync while the
battery charges. For more information, see “About the battery” on page 13.
If iPod nano is connected to the USB port of a Windows PC, the battery may not charge while the
computer is asleep.
8

5
Disconnect the cable from iPod nano when you’re ready to use it.
Don’t disconnect iPod nano if you see the “Connected” or “Synchronizing” message. To avoid
damaging files on iPod nano, eject iPod nano before disconnecting.
For more information about safely disconnecting iPod nano, see “Disconnecting iPod nano from
your computer” on page 13.
9
Chapter 2
Getting started